
Prusa Mini Repair: Mini Power Supply
So, let’s say your Prusa Mini power supply kicks the bucket. Can you fix it? Should you fix it? In this video I’ll show you how to diagnose power problems on a Prusa Mini, and take a look inside the supply to see if there’s any user-fixable parts in that.
Testing the Supply
If you suspect that your mini’s power supply is damaged, the best way to test is to use a multimeter to see if it’s producing 24 volts. The mini uses a round four pin plug. Two of the pins are for power input, the other two are ground - and the sheath is theoretically a separate ground, but they are all tied together on the Buddy Board. Testing this supply at the plug is somewhat problematic - because your two power pins are surrounded by ground pins, and it’s very easy to short power to ground with your typical multimeter probe.
Instead I recommend testing on the mini itself by removing the electronics cover. This exposes some easy probe points, and will also let you check the mini’s fuses. If your mini won’t power on at all, there are a few things to test: power coming in, power making it past the power switch, and the fuses.
Power Coming In
First off, all grounded points on the buddy board are tied together - so to test power in, any of the mounting screws will work great. For 24v, the pad closest to the plug is the power’s first destination, going into a faston connector over to the power switch.
Power Switch
After that, power goes to the power switch, and if that’s turned on right back to the next faston connector.
Fuses
With the switch on, we can test the fuses. There are two - one for the heated bed that’s a 7.5 amp fuse and one for everything else, a 3 amp fuse. These are standard car fuses, available pretty much any auto place, and you can visibly see the fusible link - that wire in the middle - if the fuse is blown it’s because that wire vaporized.
If you’re not great with numbers, or, um, reading, you can see that the 7.5 amp fuse has a much thicker wire than the 3 amp fuse. The whole idea being that, if the current going in is too high, the fuse will die before any of your expensive, difficult to replace electronic componenets.
A quick side note. If you do blow a fuse… what happened? Why did the fuse blow? If you don’t know what caused the excessive power draw, replacing the fuse might not fix the problem. Certainly could be a power surge, or a voltage issue - but anytime you see a blown fuse, take a look around before you jam a penny in its place.
Replacement
Switches and fuses are easy enough to replace; links to parts down in the description. In a pinch you can bypass the switch and just jumper from one faston to the other, no problem. Bypassing the fuse, or running the wrong rating will work, too, but you risk catastrophic damage to your buddy board. Fuses are cheap - get the right one.
If your supply’s been hit by a tiny meteorite or otherwise beyond repair, replacements are available from Prusa Research, but they’re pretty expensive.
The connector is a 4-pin Mini-Din Kycon Snap and Lock DC Power Connector. You can replace the connector alone, if say it’s bent or something, or even buy a replacement to add on to another 24v supply you have lying around.
If you need to replace the connector, digikey sells them, and has links to the datasheet so you can find the connector on your preferred electronics site.
You could also easily bypass the connector, and run 24v right into the buddy board; for this, I would use a ring terminal for the ground and connect the power wire directly to the power switch… like I do to power my PrintShift part ejection system. This isn’t a shameless plug, mind. I am mildly ashamed.
What’s inside?
If your power supply has failed, are there any user servicable parts inside? Hope so. I’ll be opening it to see what’s in there. I’m not an electrical engineer, my background is computer science but I’ve been around power supplies for some time. Mostly, you look for the part that’s burnt and replace it.
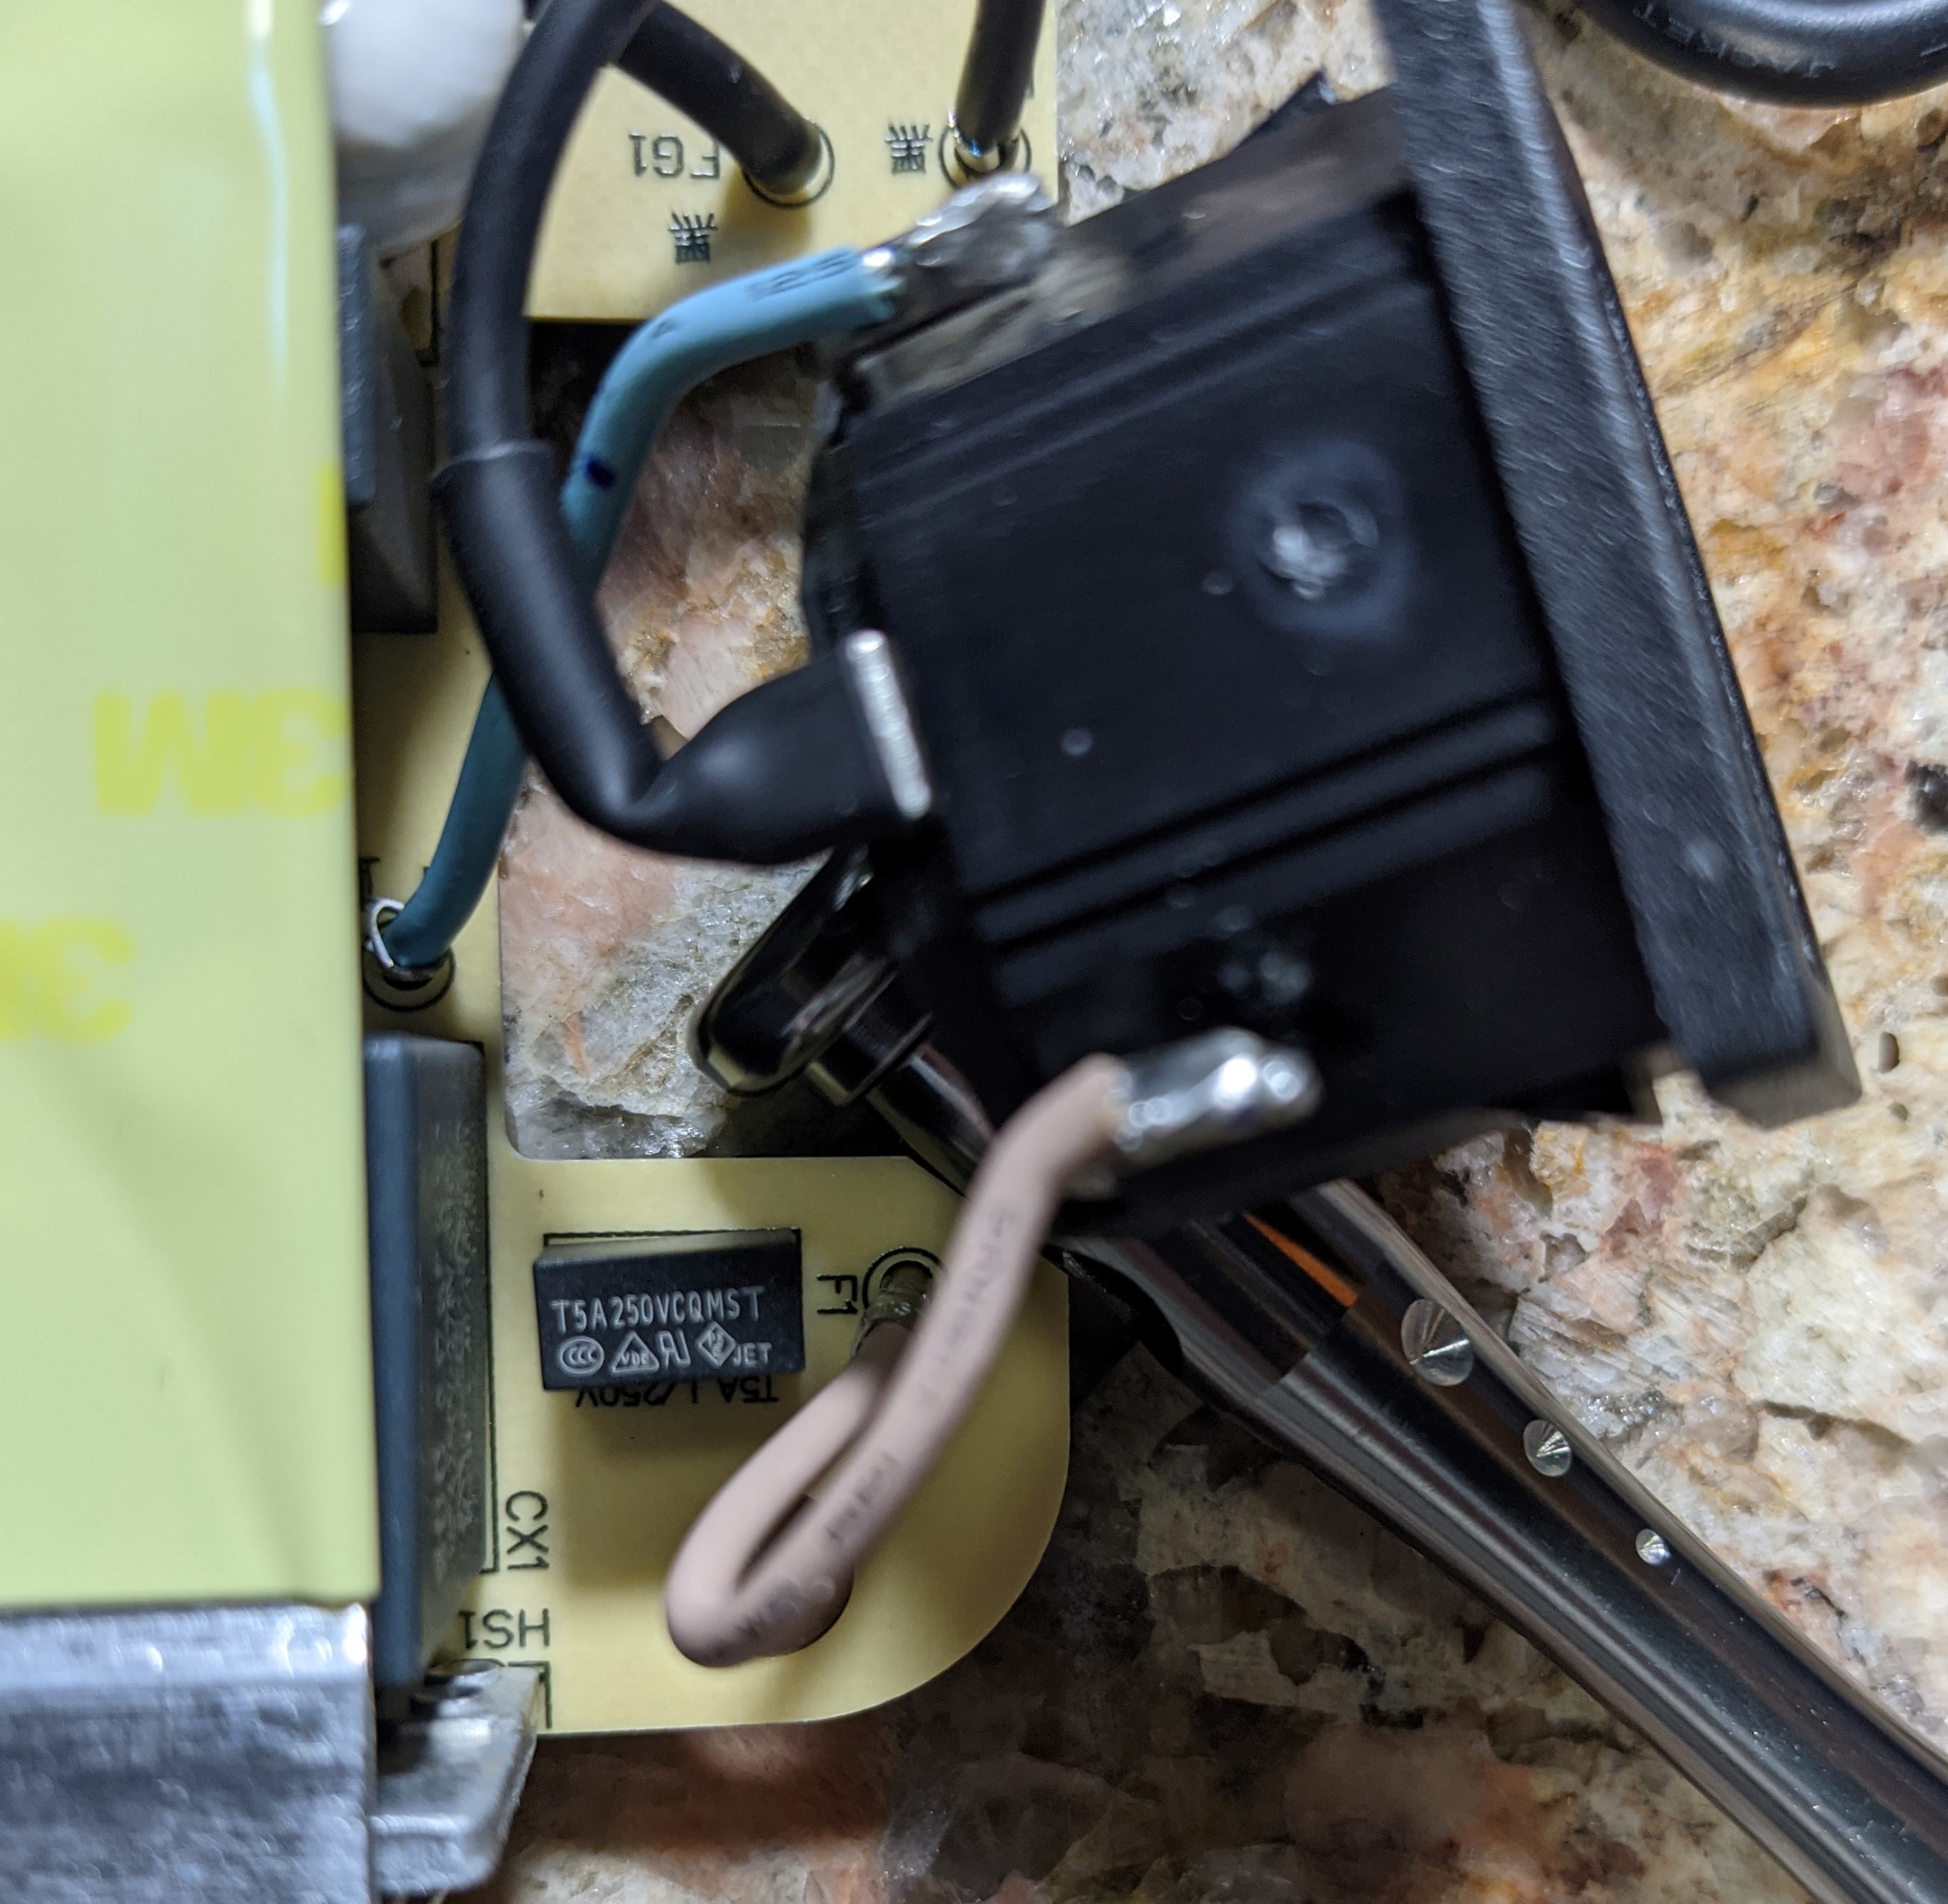
Upon opening, the supply is wrapped in an aluminum shield and heat spreader, that appears to be spot-welded on. There is a soldered-in fuse on the AC side, however - a 5 amp 250v slow-blow fuse. T5A 5A 250V Fuse
Comments